
How to use Storadera with
Veeam Backup & Replication
The simplest way is to use Veeam native Object Storage integration.
For that you will need “Enterprise or Enterprise Plus” license and at least version 9.5.
This guide is done with version 10.
This guide is for illustration purposes only. Make sure you understand what every step means and consult Veeam documentation or representative for information if needed.
Check more info from veeam.com
Using Storadera as object storage in Veeam Backup & Replication takes 3 steps:
- Add object storage
- Add scale-out repository
- Start using object storage
Prepare
Start “Veeam Backup & Replication Console”.
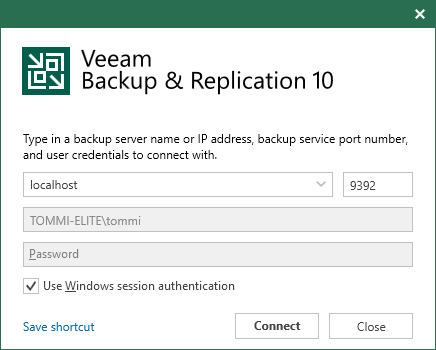
Click “Connect”.
Add object storage
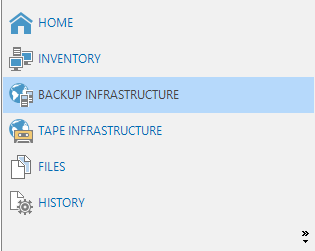
Click on “Backup infrastructure” on the lower left corner of the screen.
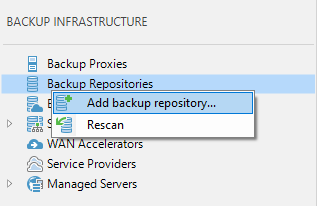
Right click “Backup repositories” from the left menu and select “Add backup repository”
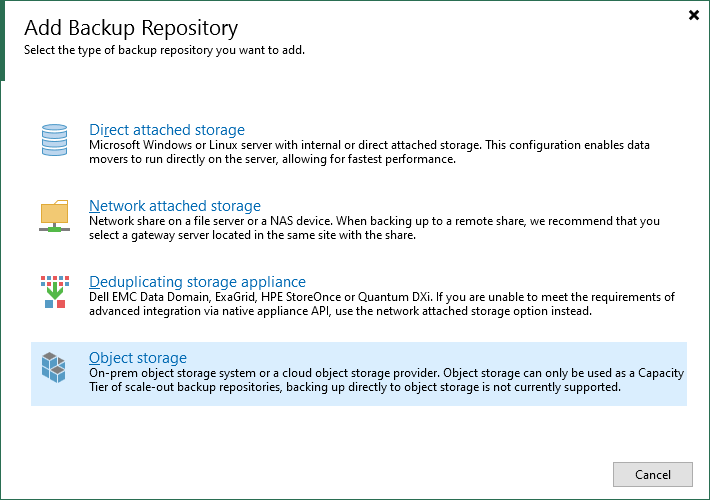
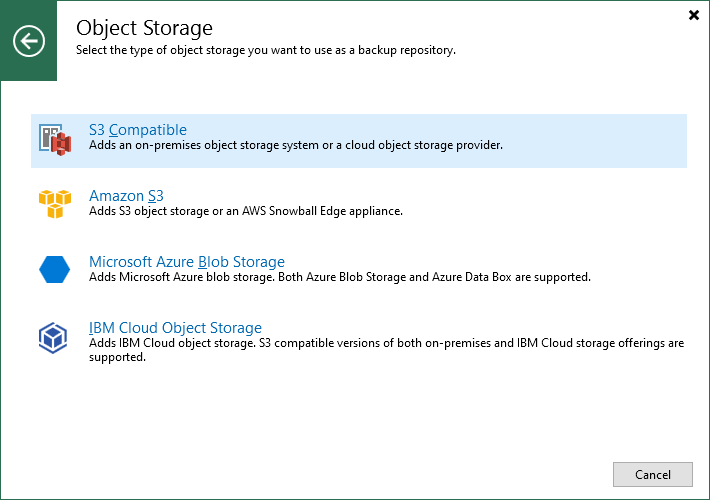
Choose “Object storage”
Choose “S3 compatible”
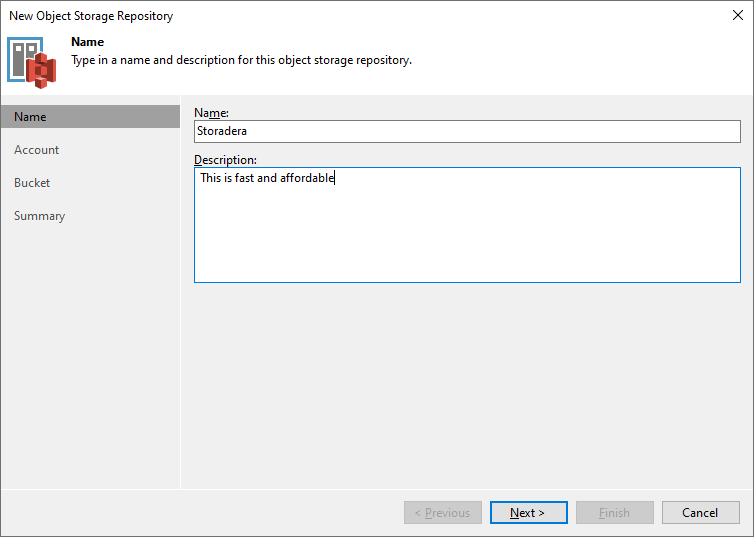
Fill in the name and description and click “Next”
Fill in fields
Service point: https://eu-east-1.s3.storadera.com
Region: eu-east-1
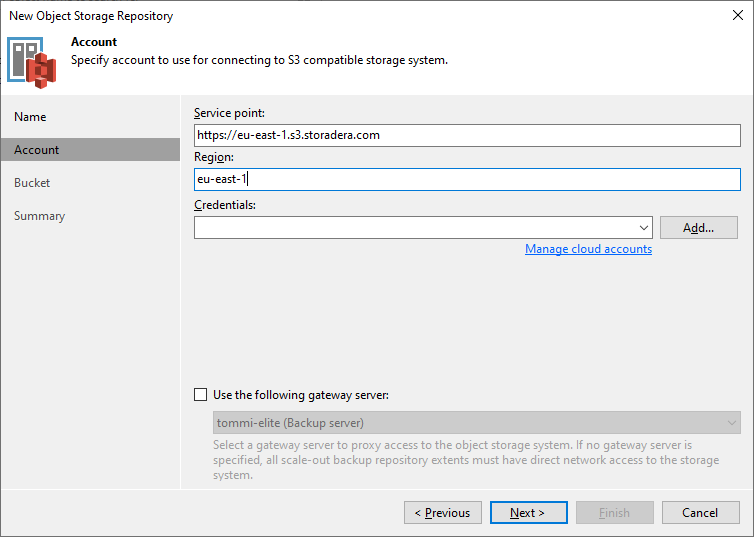
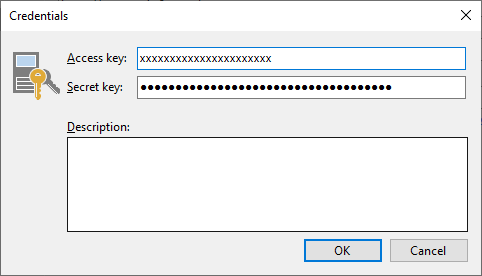
Click “Add” next to Credentials field. Fill in Access key and Secret key.
Then click “OK” to close credential window and “Next” to move forward.
Select bucket. Bucket must exists already. If you need to create new one then visit https://account.storadera.com/buckets
When the bucket is selected, click “Next”.
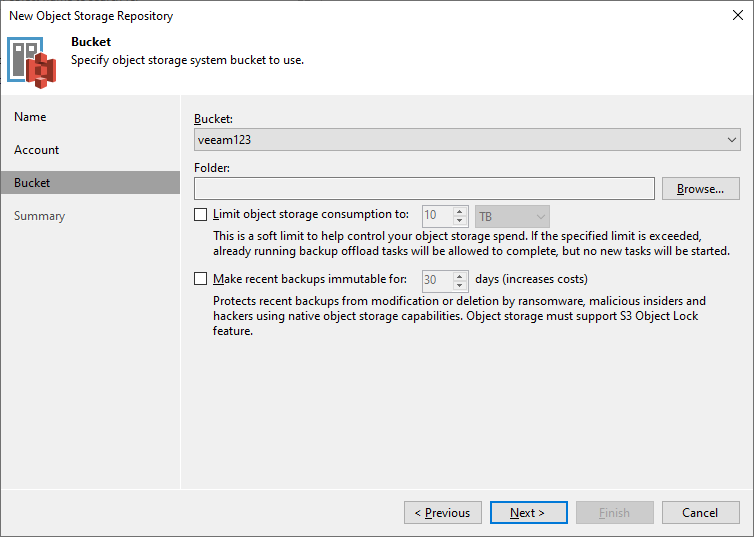
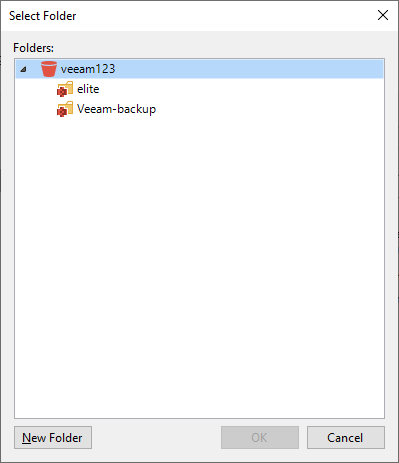
Click Browse next to Folder to create or select a folder.
Select “Ok” and “Next”
Now you see summary. Click “Finish”

Add scale out repository
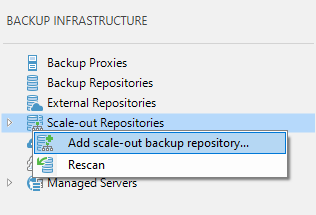
On the left menu, right click “Scale-out Repositories”
and choose “Add scale-out backup repository”
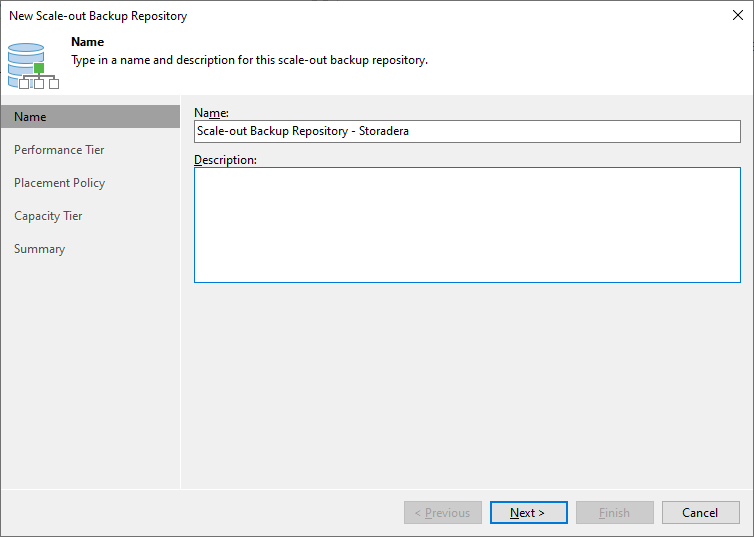
Add name and description. Click “Next”.
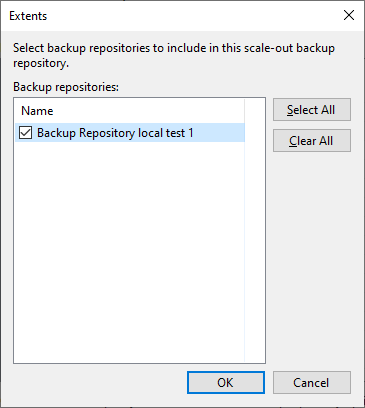
Click “Add” to choose existing backup repository. You need to add at least one backup repository.
Note that all repositories may not be available. Consult Veeam documentation or representative if you do not see your repository listed here.
Click “Ok” and then “Next”.
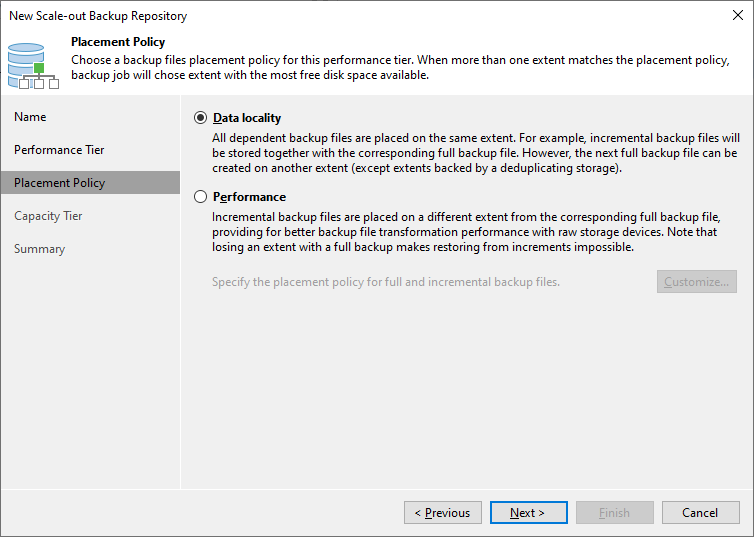
Select “Data locality” option.. Click “Next”.
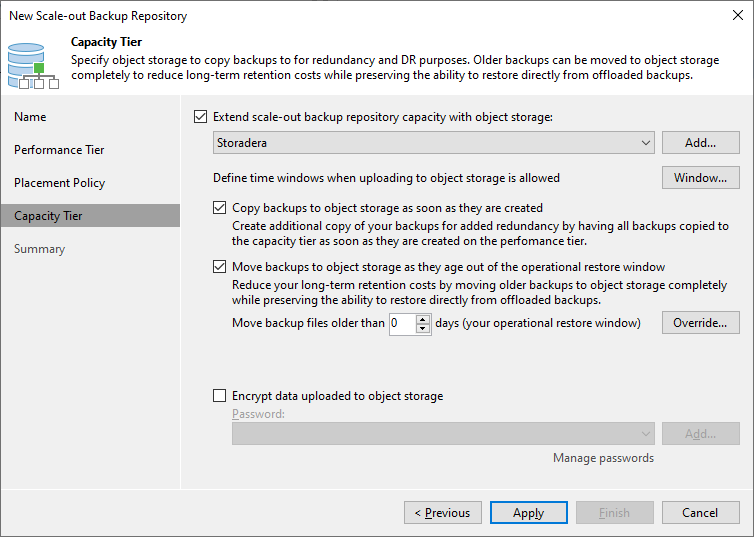
Select “Extend scale-out backup repository capacity with object storage” and choose the Object storage created before.
Choose other options as you see fit. At first, for testing, it is recommended to check “Copy backups to object storage as soon as they are created”. Then they are sent immediately after backup (but not during the backup).
Click “Apply” and then “Finish”.
Start using object storage
Veeam object storage can’t be used directly. This is why we create a “Scale-out repository”.
Now, if you would like direct backups to object storage, set target to the newly create “Scale-out repository”. It should appear in repositories list when you configure your backup.