
How to use Storadera with
Duplicati 2.0
Duplicati 2.0 is available on Mac, Windows and several versions of Linux.
As Duplicati uses a web interface then this guide is quite universal but still done on Mac.
Prerequisites
You must know your Access Key and Secret Access Key.
One Storadera bucket must exist already. The bucket name must be unique over the whole system. Don’t be alarmed if the first one you choose is not available.
You can create the bucket on the self-service portal: https://account.storadera.com/buckets
Backing up using Duplicati web interface
Preparations
- Download Duplicati for free from https://www.duplicati.com/download
- Install it with Next, Next, Install method.
- Start Duplicati
Add a new backup.
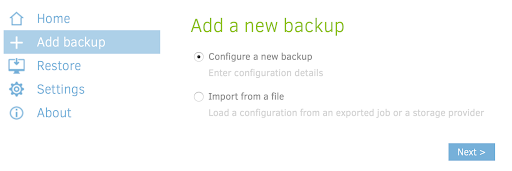
Then click Next
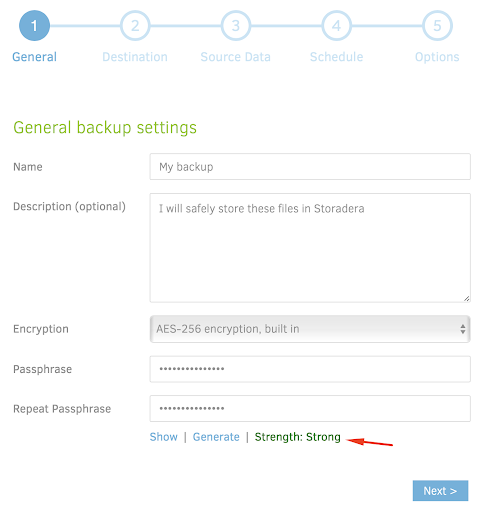
Step 1
Name: <choose a name for your backup>
Description: <you can add a short description>
Encryption: AES-256 encryption, built in
Passphrase, Repeat Passphrase: Password for your backup. Duplicati will encrypt your data before it leaves your computer. NB! To restore data later, you absolutely need that password. The strength of the password is indicated. It is recommended to use a strong password. Add lowercase and uppercase letters and numbers.
Step 2 – Destination
Storage type: S3 Compatible
Use SSL: check
Server: Select “Storadera (…)” from dropdown
Bucket name: It is the bucket where your backup goes.
AWS Access ID: <your access key>
AWS Access Key: <your secret access key>
(no need to change other fields)

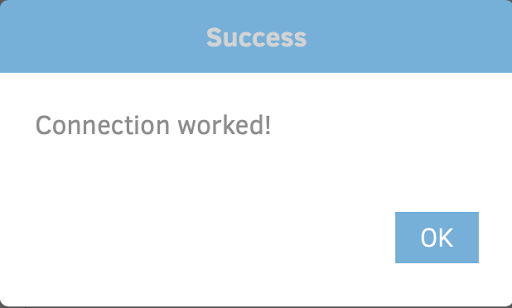
Click “Test connection”. You should get the following message. If not, make sure all info is correct.
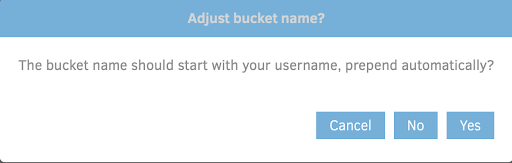
NB! If you first test your connection you will be prompted with the following question. Choose “No”.
And then success waits for you:
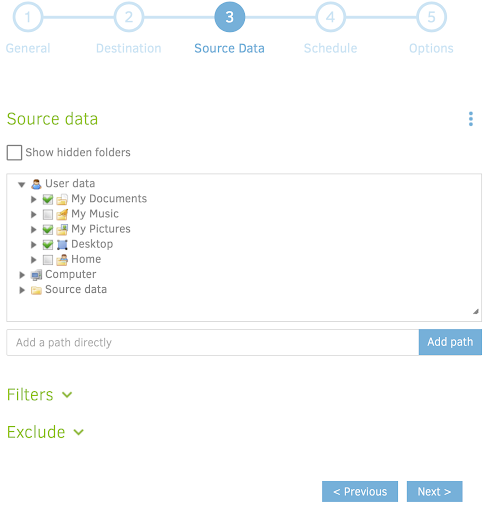
Step 3 – source data
Select folders you like to back up and click “Next”.
Step 4 – Schedule
Choose the schedule that suits you. Subsequent backup runs are quite fast and do not load computers a lot if only a few files are changed.

Step 5 – Options
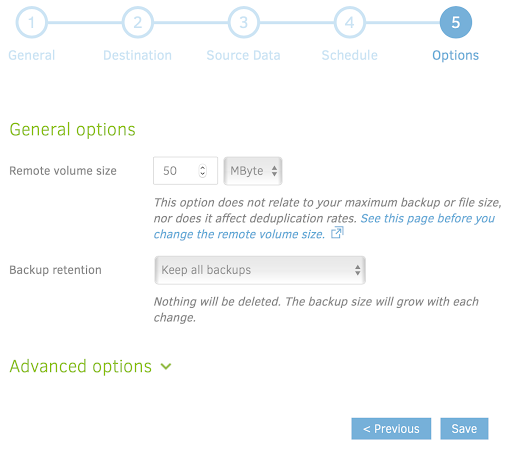
For simplicity, do not change settings here at first. Click “Save”.
Now the backup is saved. It will be run automatically at your chosen time but it would be good to do first run right away. You see a list of backups on your screen. You should only have one backup in the list. Click “Run now”.
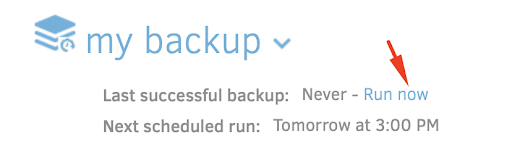
The upper part of the page will show you the progress and status.

Backing up using duplicati-cli and Ubuntu
Preparations
Follow the installation instructions example below to install duplicati-cli version 2.
apt update
apt install -y wget
wget https://updates.duplicati.com/beta/duplicati_2.0.6.3-1_all.deb
apt install -y ./duplicati_2.0.6.3-1_all.deb
apt install -y mono-complete
Use
Choose a folder you want to be backed up. For our example we will backup /data folder with some dummy text file in it, but you should backup one you value the most.
mkdir /data
echo "123456789" > /data/test.txt
We are backing up to kittypics bucket, but you have to type in the bucket name you own. Don’t forget to replace the multiple asterix signs with your own access key id, secret access key and passphrase.
duplicati-cli \
--aws-access-key-id="***" \
--aws-secret-access-key="******" \
--s3-ext-signatureversion=4 \
--use-ssl \
--s3-location-constraint=eu-east-1 \
--s3-server-name=eu-east-1.s3.storadera.com \
--passphrase="***" \
backup s3://mybackup/kittypics /data
Enjoy using cloud storage! This was a brief overview of how to set up Duplicati 2.0 with Storadera cloud storage.
More info about duplicati: duplicati.com